More Photos
638 words on Black and White
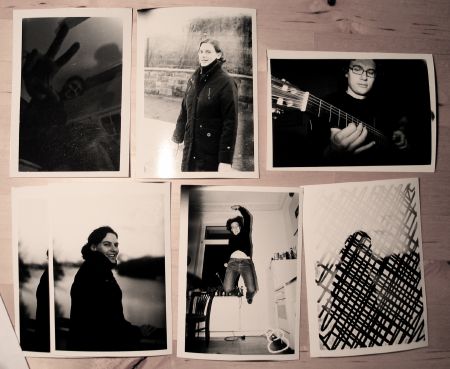
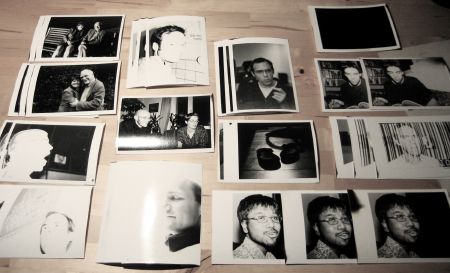
We’ve been to the photo lab once more – and I start having loads of print. Not all of them are perfect but it’s good to get a bit of routine in this. The thing is that it is very difficult to make a perfect print. You’ll need to work really carefully just to make sure you don’t have dust on your negatives and that everything is straight and aligned properly. And you’ll need to spend loads of time considering the framing you do and deciding which size and crop you want. And all that before the actual work starts – with you having to make an educated guess and some variations thereof to try which exposure of the photo paper you need and which gradation will give you the results you want. And of course each of these experimental steps takes quite some time because you’ll have to wait for the print to actually develop before you can judge whether it’s what you wanted. So it’s slow.
With the old school photo papers I recently got, things are a bit easier. Most of them are postcard sized, so the possible choices for the image size are quite limited. And the paper comes with a single fixed (and slightly too soft) gradation, also taking that choice from you. Which speeds things up. Things are sped up even more by the paper being so cheap that it’s worth taking the risk of just exposing a whole sheet (rather than a small test snippet) to see whether the exposure is right – and in many cases coming out with a proper print right away. Great!
As for the cleanliness of the prints – that remains a tricky one. In a way I’m not too fussy. I quite like my small prints which look a bit uneven. Just gives them a more handmade feel. [I guess I might prove that I’m not worthy of being called a real zealot here, but if I wanted really smooth and even prints, I could just send my scanned negatives to a digital printing service…] Even the slight misfortune of one of the paper packs having pinched a little – resulting in a thin black stripe on a number of prints – isn’t too much of a problem from that point of view.
Finally I also got a number of my ‘ultra-long’ prints done. In a way those are amazing as I really got to strongly enlarge my negatives ‘Blow Up style’. On the other hand they are only 7cm wide as that’s the width of the roll of paper I got and things are rather difficult to handle because a 80cm×7cm strip of paper doesn’t fit into the 24cm×36cm container with the developer. I tried working around this by pouring the developer back into the measuring container used to mix it, rolling the paper up and developing it in there (which works – but when I tried to put several sheets in there at once started getting really messy).
And then the same again for the other chemicals… But as this was real paper rather than the modern plastic paper it still had to be dried and straightened. We have the special heated press for that. And while it’s reasonably large, it couldn’t take most of my long strips which meant I had to do those in two steps – leaving a somewhat uneven section in the middle unfortunately. I hope I can fix that with a bit of water and an ironing board next weekend or so.
From left to right those are: Two bits taken from the new Göttingen city hall, part of a bridge at a train stop in Berlin, my flatmate Daniel and a stripe of my pink plastic pig (unfortunately I missed the eye on this one).


